The project took two major iterations. First was making a perfectly sized box (according to zaph's design) with the driver and mounting cutouts, and then adjusting it due to issues encountered by the limitations of the materials used (i.e. very thin MDF).
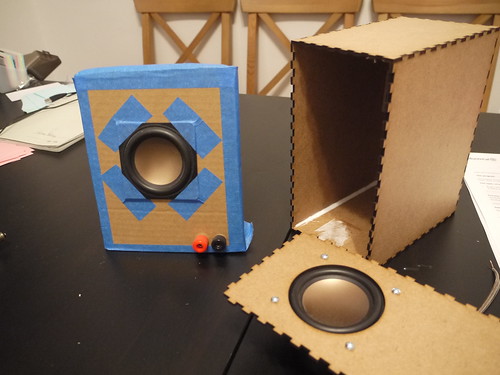
Old
There were two main challenges I had with the new design, both relating to the baffle, or front surface where the driver is mounted:
1.) Because the 1/8" MDF is relatively thin, the baffle will actually bow forward a bit when the driver is mounted
2.) The finger joints are great at making an enclosed box, but once glued it is impossible to open it again without destroying the box. I didn't have the heart to simply glue everything together, and it's generally good to have your internal components accessible. Therefore, I had to come up with a removable baffle solution.
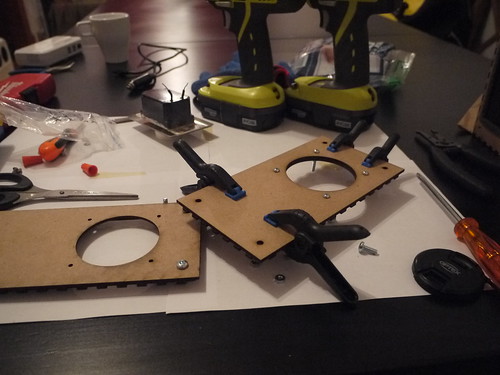
So, in the second iteration, I decided to double up on the front baffle (by simply gluing two pieces on top of each other), and then adding a non-removable component with a large hole like this:
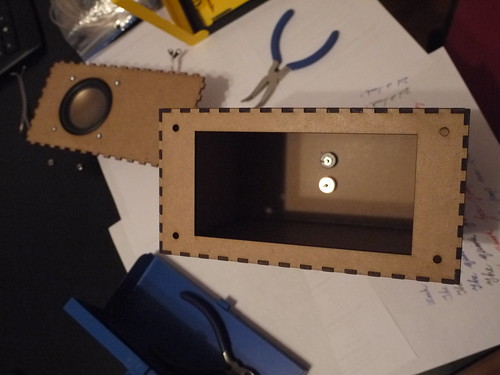
Then, I put some t-nuts underneath the holes, and lined some insulation foam (weatherstripping) for better seal:
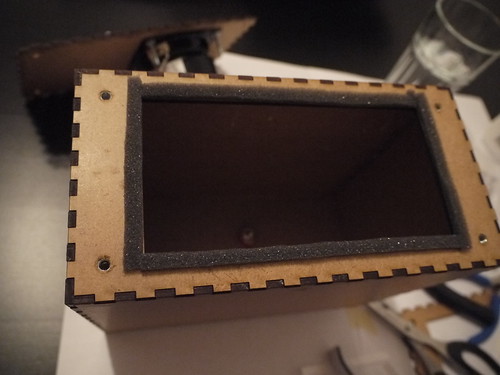
The t-nuts weren't ideal given the thickness of the panels, but with some glue and coaxing it worked. In the end, this design allowed the front baffle with the driver mounted to be screwed in. Here shows the version 1 (left) and version 2 (right) of the enclosure:
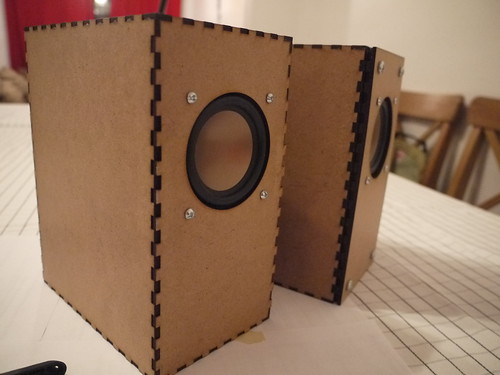
Version 1 (left) shows a press-fit of the finger joint, and if I was building a one-off system simply gluing it would have worked but it would be a one-way trip!
The final version adds a bit of extra depth to the front, but allows the baffle to be removed for servicing. There is a slight gap since I recycled the old front baffle piece that had the finger joint edges. If I was to make a new version, I would simply cut out two non-jointed pieces (or even better: use thicker MDF if the cutter allows!). Below you can see the straight-cut piece with the old jointed piece glued underneath:
All in all, it was a pretty fun project and good introduction to lasercutting. In terms of the sound while it is significantly improved over the plastic lunchbox design from before, I think it's still quite a bit aways from Zaph's original: no stuffing, box walls possibly too thin, weather stripping is most likely not as airtight as "speaker-grade" seals, and, perhaps most importantly - no crossover to block out the lower frequencies that the drivers would struggle to output anyway). However, powered by a lepai 2020a+ with signal fed by a small bluetooth adapter dongle, it makes a great kitchen/casual listening speaker with sound quality significantly better than off-the-shelf systems at much higher prices.
Here's a PDF of the lasercut outlines (for a real cut you may want to edit the line thickness to 0.1mm, change the colour etc to settings that your lasercutter requires). The design was done on 3 sheets of 30cm x 60cm 1/8" MDF that you can buy from Home Depot for a few bucks. (Thanks again Filipe for the materials+advice!) You'll need to make your own rear exit holes for the connector mounts of your choice: easiest is to just make two holes for banana plugs, which is what I did.
Could I have done this by hand? Sure. It would be a good practice of woodworking skills, and much easier to use thicker materials. However, there are certain things a lasercutter can do very well and for clumsy/lazy people like myself, this was a good excuse to play around and experiment.
Could I have done this by hand? Sure. It would be a good practice of woodworking skills, and much easier to use thicker materials. However, there are certain things a lasercutter can do very well and for clumsy/lazy people like myself, this was a good excuse to play around and experiment.
Finally, a plug to Central Stamp for the accessible and quick turnaround laser cutting service!